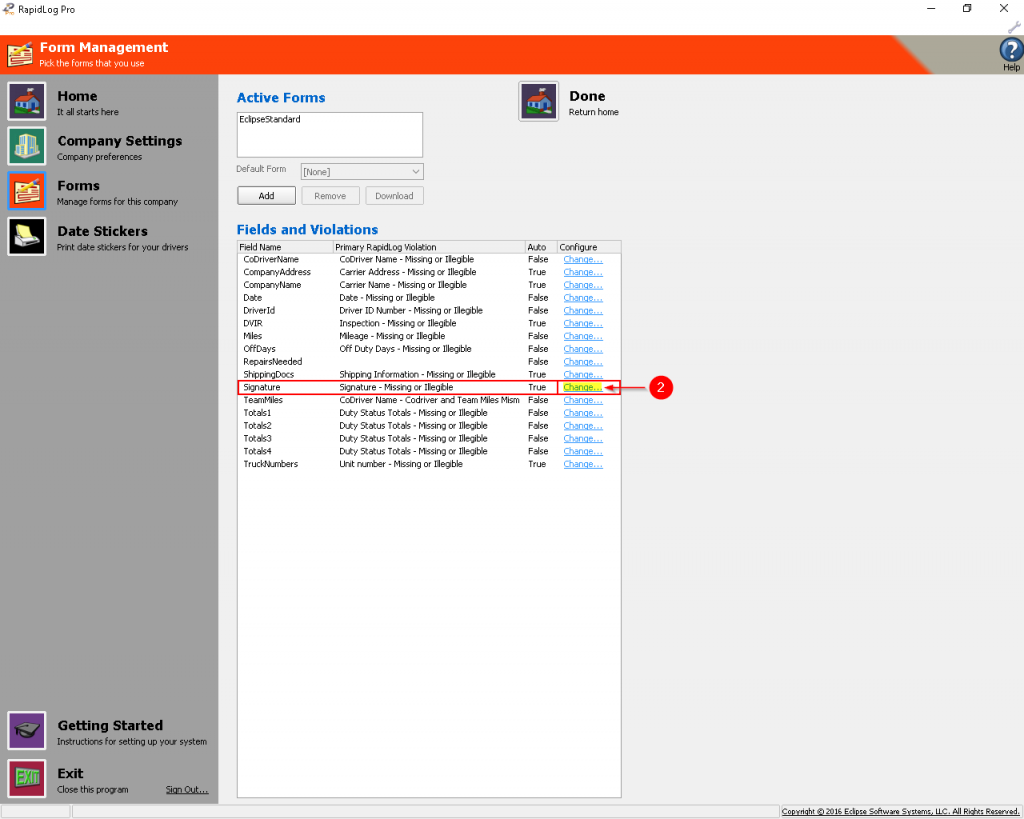
2. Click ‘Change’ on the field you’d like to configure.
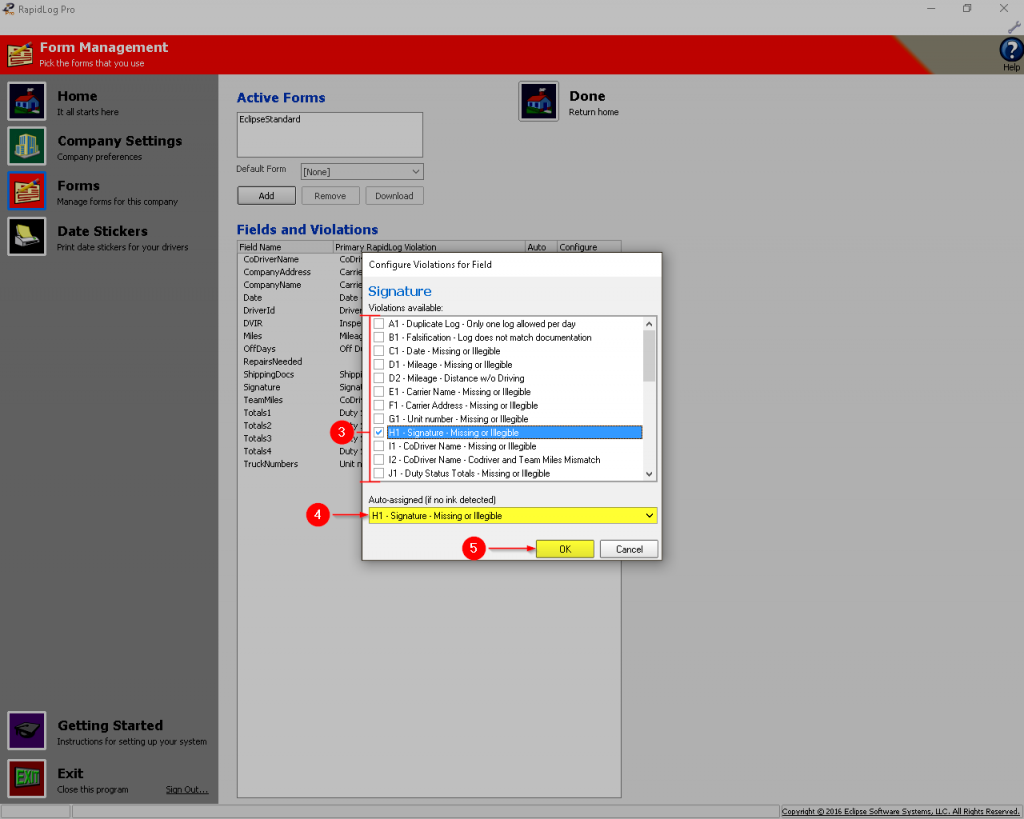
3. Check any/all violations that should be linked to the field you’re editing.
4. If you’d like to assign an automatic violation if ink isn’t detected in the field, select it here or leave as [None].
5. Click ‘Ok’ to save changes.
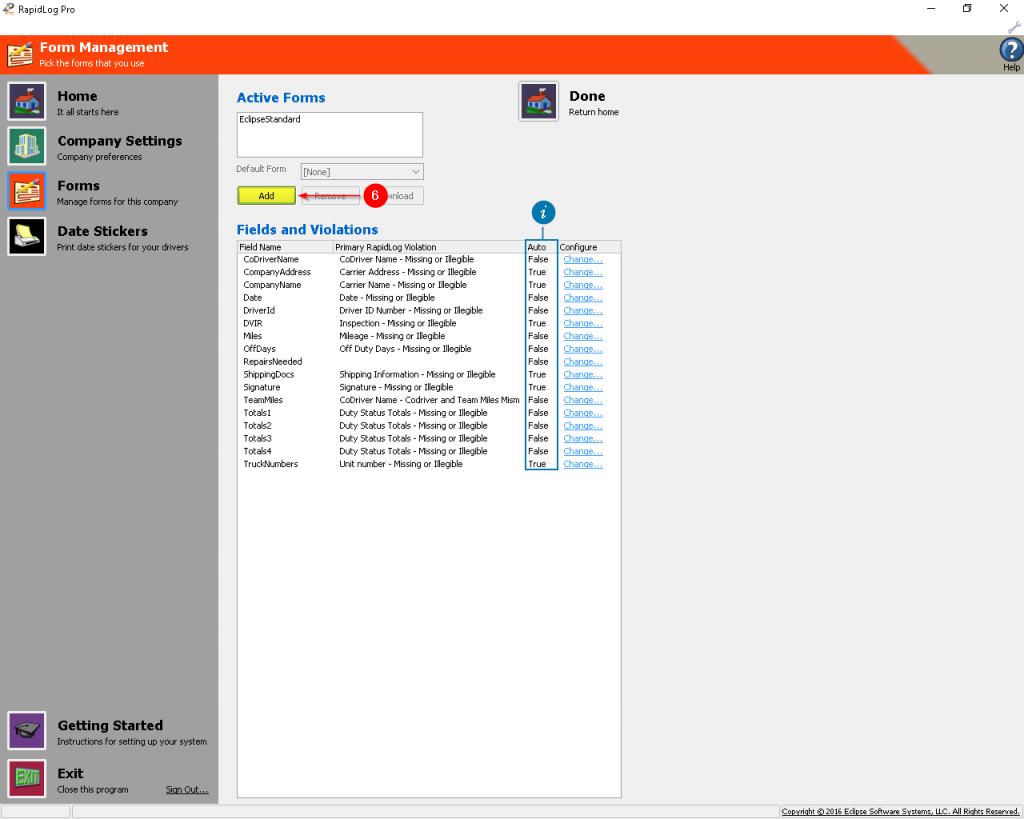
i: The Auto column refers to the selection you made in step 4 about automatic violations based on ink detection. ‘True’ means Auto Violations are on for that field and ‘False’ means off.
(Optional)
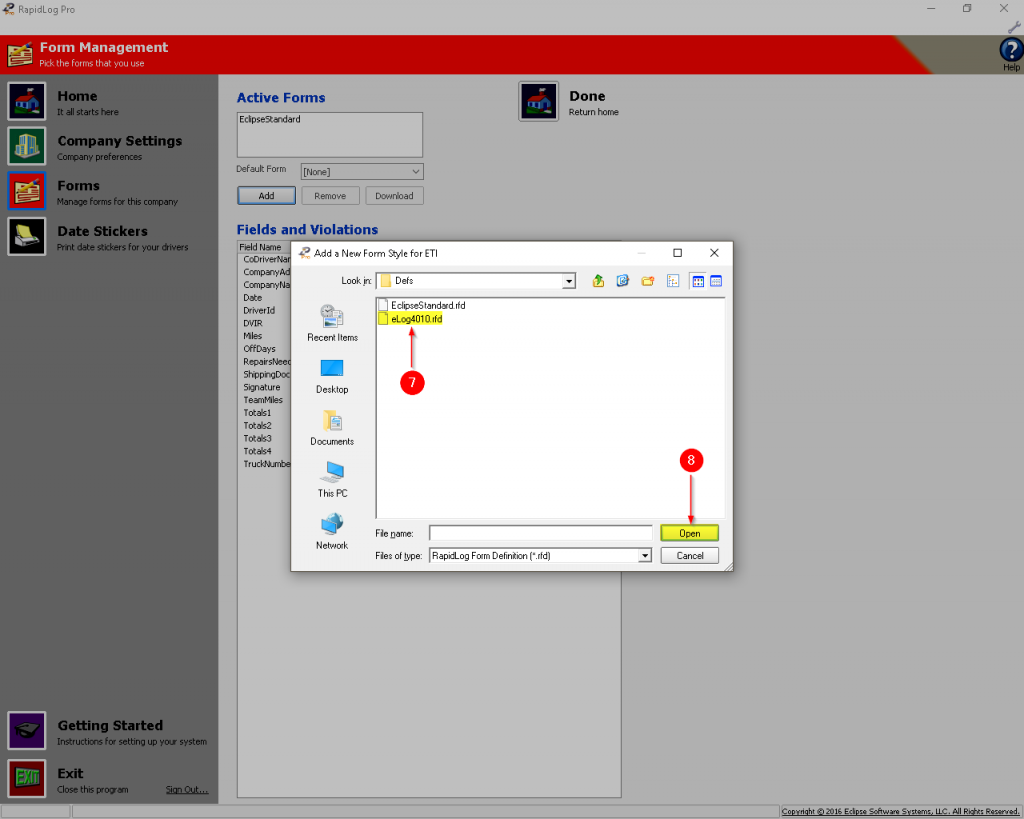
6. If you have RapidLog Pro forms to add, click the add button. If not, skip to step 11. and press the ‘Done’ button.
7. Select the .RDF file for the form that you are adding.
8. Click ‘Open’ to add the form to the company in RapidLog Pro.
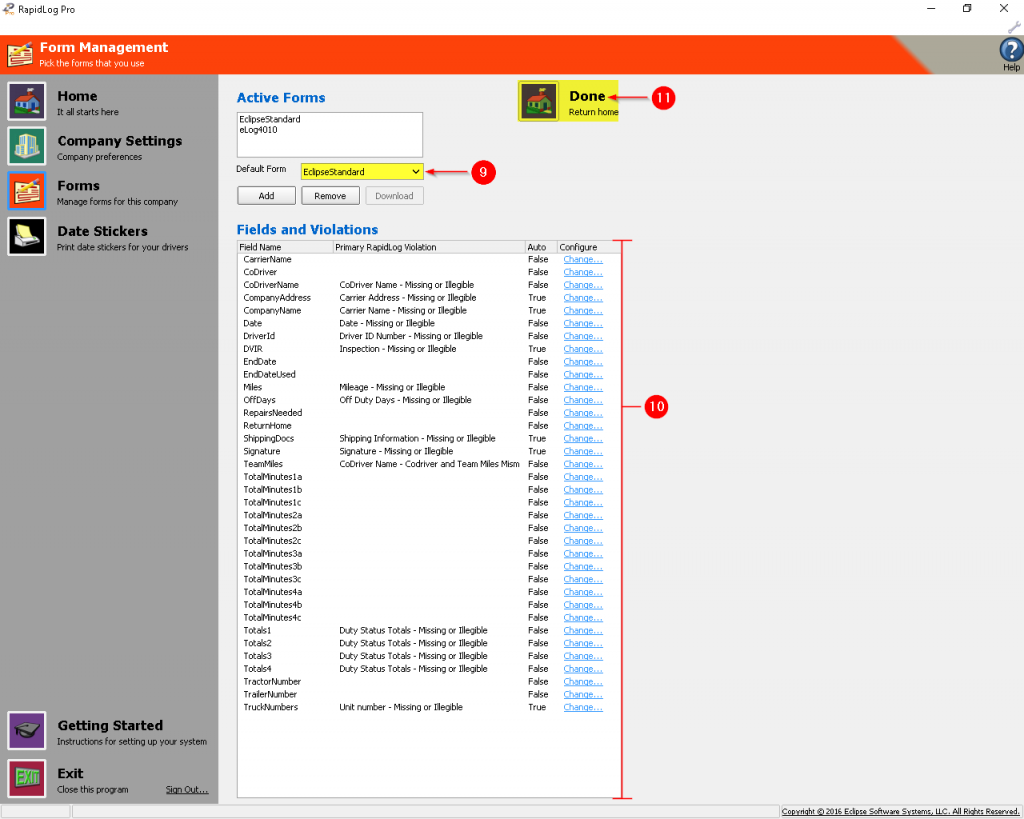
9. Select a Default form for the company or leave [none] to be prompted on every log.
10. Repeat steps 3-5 to configure any new fields from the added form.
11. Click ‘Done’ when you are finished configuring fields.
2. RapidLog Pro Configuration Page
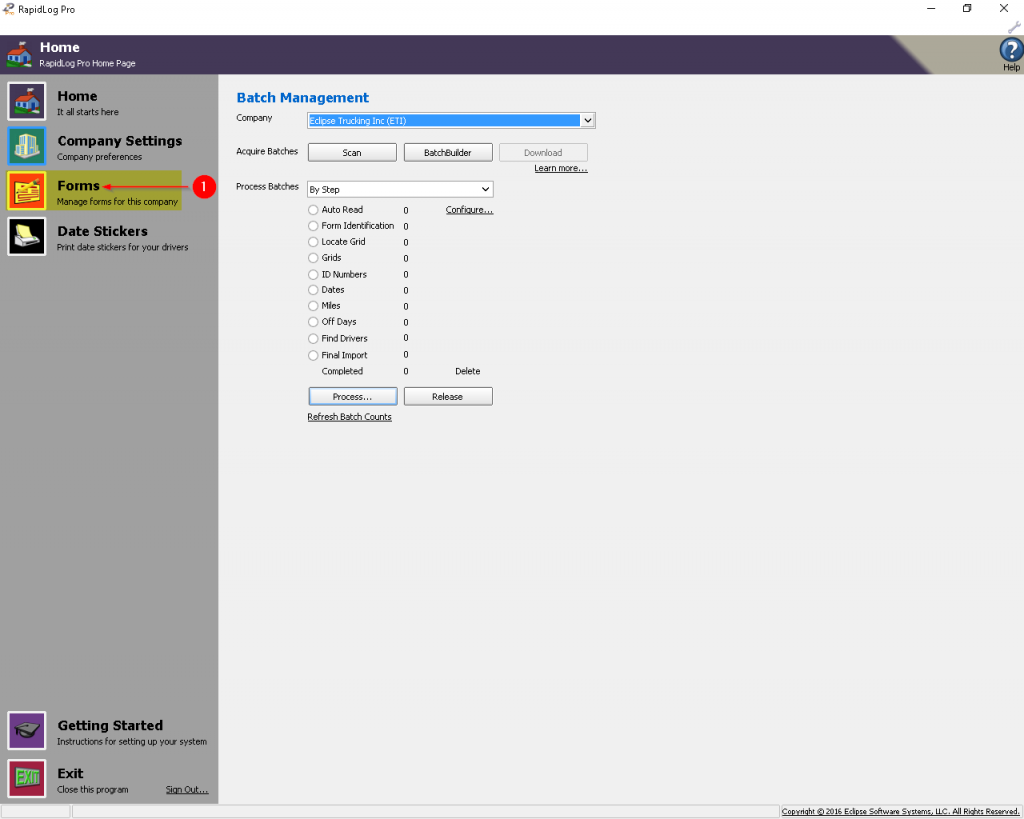
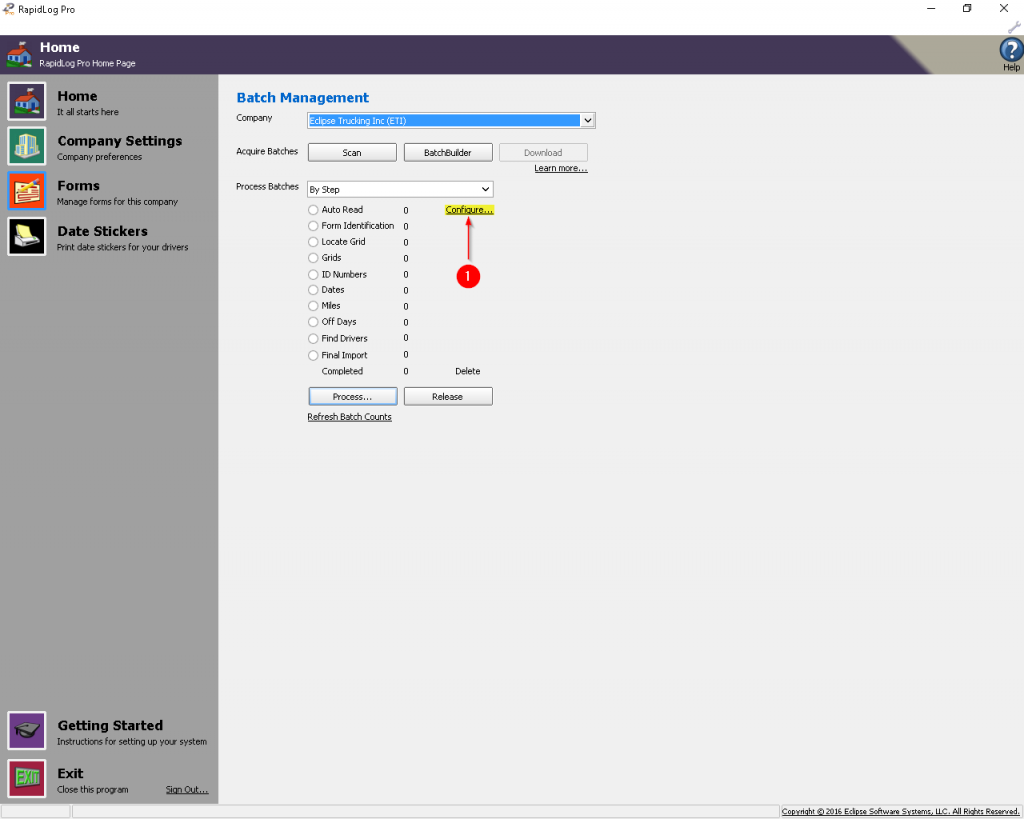
1. Open RapidLog Pro and click on ‘Configure…’.
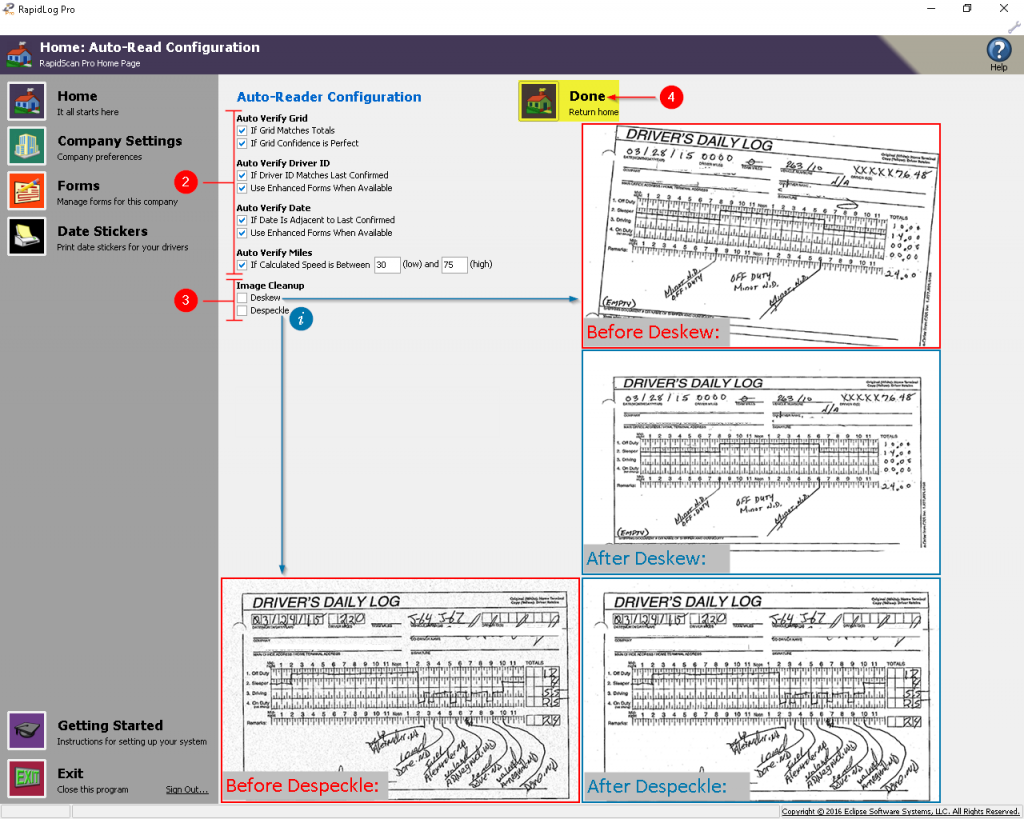
2. Check or uncheck boxes based on if you’d like RapidLog Pro to automatically verify logs in each step based on the rules shown.
3. Check or uncheck Deskew or Despeckle if you frequently deal with skewed or speckled images.
4. Click on the ‘Done’ button to save your changes.